

Hiking in the Grand Canyon is an awe-inspiring adventure, but it demands serious preparation. Every year, many hikers, even experienced ones, underestimate the canyon and encounter severe heat illness or injury.
Over 250 people need to be rescued from the canyon annually. To ensure your Grand Canyon hike is safe and enjoyable, you must plan ahead, get in shape, pack the right gear, and respect the canyon’s challenges. The guidance below, from the perspective of a park ranger, will help you prepare with a focus on safety and caution.
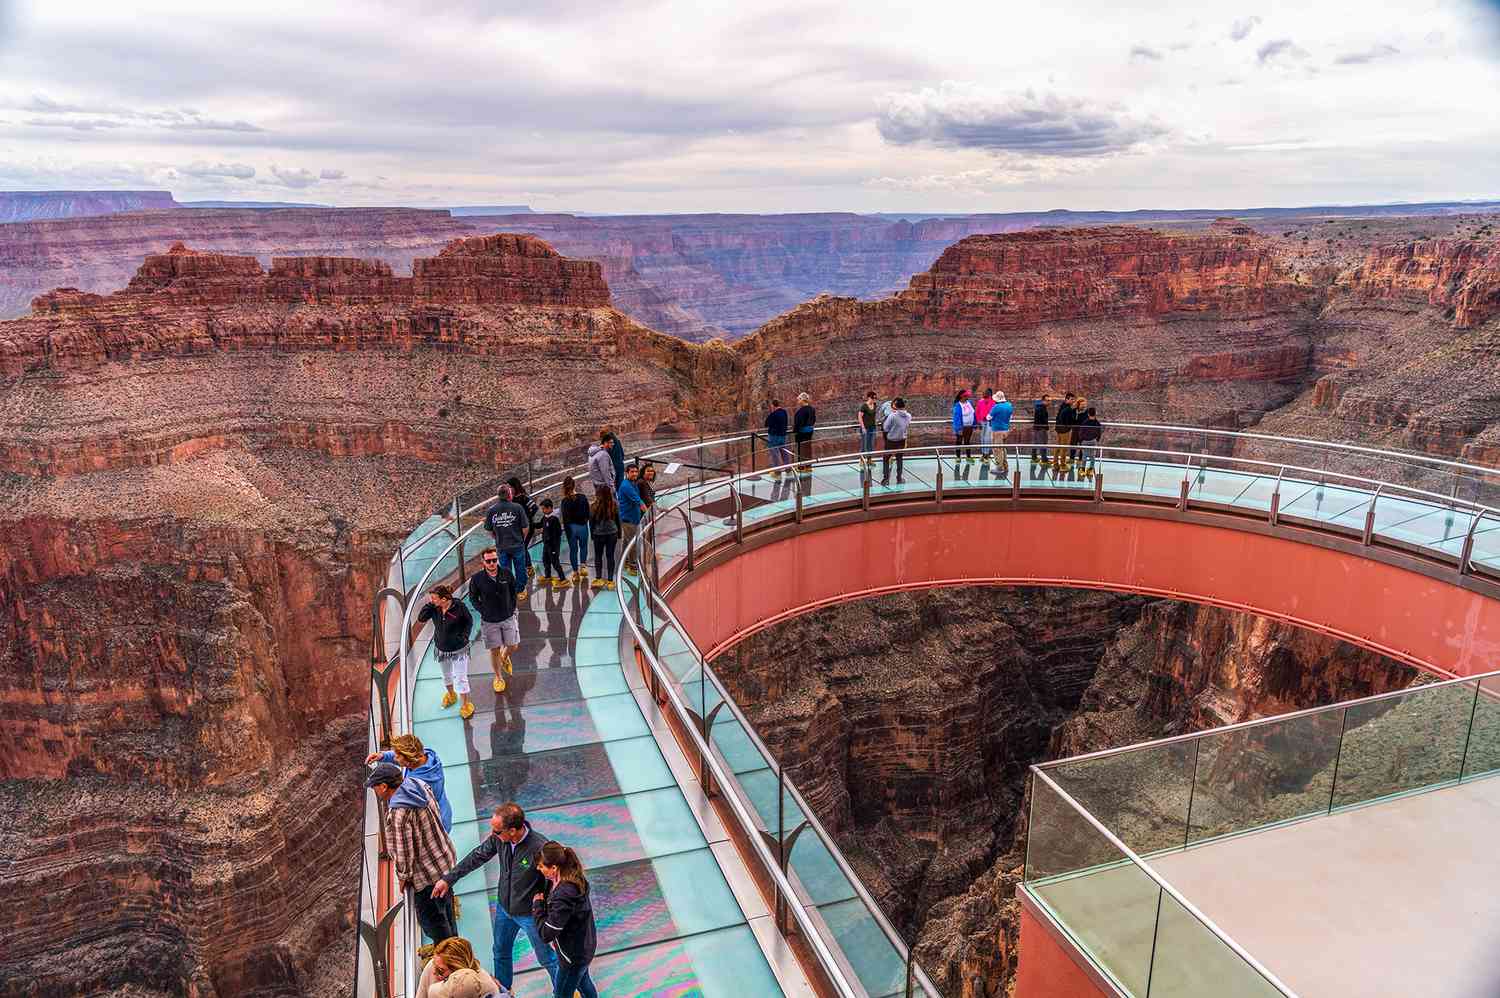
Learn more about the Grand Canyon
Fitness Preparation and Training
Don’t underestimate the Grand Canyon’s difficulty. First-timers are often surprised by how much harder canyon hiking is than other trails. Remember that hiking down is optional, but hiking back up is mandatory, and the climb out is extremely strenuous.
The canyon’s steep trails involve about a one-mile (1.6 km) change in elevation from rim to river , and the high altitude (South Rim 7,000 feet / 2,134 m) means thin air that can leave you short of breath.
Even very fit hikers often finish sore and exhausted. For your safety, be conservative in your plans and honestly assess your physical condition.
Start training well in advance. You should build up your endurance and leg strength before tackling Grand Canyon trails. In the months leading up to your hike, do frequent practice hikes on steep terrain – seek out trails or stairways with at least 1,000 feet of elevation gain to condition your legs and lungs.
If possible, also hike at higher elevations (7,000–8,000 feet) or in hot conditions to simulate the Grand Canyon environment. Regular cardio workouts (such as climbing stairs, running, or cycling) will improve your stamina for the long ascent out of the canyon. Train with a loaded backpack as well, gradually hiking with the weight you plan to carry.
This helps your body adjust to carrying gear and lets you identify any issues with your equipment. Finally, break in your hiking boots thoroughly before the trip – never start a Grand Canyon hike in brand-new boots, or you risk painful blisters. The better prepared you are physically, the more you’ll enjoy your hike and stay safe.
Essential Gear and Clothing
Having the proper gear is essential for safety in the Grand Canyon. You should aim to pack light, but include all crucial items. Here is a checklist of gear you should have:
- Sturdy, broken-in hiking boots or trail shoes: Wear well-fitting boots that you’ve already logged miles in (to prevent blisters) and that have good traction for rocky, uneven terrain. Consider using trekking poles to take stress off your knees on the steep trails.
- Backpack with supplies: Use a comfortable backpack (with a waist belt) to carry your gear, food, and water. Keep it as light as possible – food and water will be your heaviest items , so pack other items minimally. Ensure you have capacity for several liters of water (either in bottles or a hydration bladder).
- Water carry and treatment: Bring plenty of water (more on hydration below) and carry a method to treat water. A filter, purification tablets, or other treatment is critical if you plan to refill from streams or the Colorado River, since untreated water in the canyon can make you ill. (All natural water must be filtered or purified before drinking.)
- Sun protection: The Arizona sun is intense. Pack a broad-brimmed hat and UV-blocking sunglasses, and wear high-SPF sunscreen on all exposed skin. Lightweight, light-colored clothing that covers your arms and legs can provide additional sun protection.
- Clothing layers: Temperatures can vary widely with elevation and time of day. Mornings on the rim can be cool, while the inner canyon may be extremely hot at midday. Wear moisture-wicking layers and bring an insulating layer (like a fleece or jacket) for cool periods, plus a lightweight rain jacket especially in monsoon season (mid-summer).
- High-energy food: Pack more food than you think you’ll need. Salty snacks and easy-to-eat high-energy foods (trail mix, energy bars, jerky, etc.) are vital to keep you fueled. You will burn thousands of calories hiking in the canyon’s harsh conditions, so plan to eat frequent snacks and a substantial meal on longer hikes. Carrying electrolyte drink mixes or salty foods is important to replace salts lost in sweat.
- Navigation aids: Bring a map of the trails you’ll hike (topographic map if venturing beyond the main corridor) and/or a GPS device. Trails like Bright Angel and South Kaibab are well-marked, but having a map is still recommended. Do not rely on your phone for navigation or light – cell service is sparse to non-existent below the rim, and phone batteries die quickly when searching for signal.
- Light source: Pack a small headlamp or flashlight with spare batteries. Even if you plan to finish your hike by daylight, delays can happen, and you may need a light if you end up hiking out after dark.
- First aid kit: Carry a basic first aid kit including bandages, blister care (moleskin or bandage for hot spots), antiseptic, any personal medications, and pain relievers. Also include a small container of hand sanitizer. Being able to treat minor injuries or blisters on the trail will make a big difference.
- Signaling and emergency items: It’s wise to have a whistle and a small signal mirror in case you need to attract attention in an emergency. A knife or multitool is useful for repairs, and an emergency bivy sack or thermal blanket can be a lifesaver if you get stranded overnight. Many hikers also carry a lighter or matches (in a waterproof bag) in case a fire is needed for warmth or signaling.
As you pack, remember the adage: “The less you carry, the more enjoyable the hike.” Only bring what you truly need, but never skimp on water, food, or safety essentials.
Everything you carry out, you must also carry back up, so a lighter pack will make that climb much easier.
Water and Hydration
Staying hydrated in the Grand Canyon is literally a matter of life and death. The environment is hot and arid, and you will sweat more than you realize as you hike. In warm months, plan to carry and drink about one gallon (4 liters) of water per person per day.
That means on a long day hike, you should be starting out with several liters of water in your pack. Water availability inside the canyon is very limited – purified drinking water is only offered at a few points along the main Corridor trails (e.g. at resthouses on Bright Angel Trail, at Phantom Ranch) and even those sources depend on pipelines that can break.
Never assume water will be running; always carry enough for your whole hike and check the park’s updates for any pipeline outages.
If you do find natural water (springs, creek, river), you must treat it by filtering, boiling, or using purification tablets. Plan conservatively – it’s better to carry extra water weight than to run dry miles from the rim.
Follow smart hydration practices while hiking. Don’t chug a lot of water all at once; instead sip water continuously as you go, aiming for about 0.5 to 1 quart (0.5–1 L) per hour during strenuous hiking in heat. Because the canyon air is so dry, your sweat evaporates instantly – you might not realize how much fluid you’re losing.
A good rule of thumb is to watch your urine: if you aren’t needing to urinate, or your urine is dark yellow, you’re dehydrated and need to drink more. On the other hand, do not drink only plain water without eating, especially on an all-day hike. You lose critical electrolytes (salts) when you sweat, and if you replace only water you can develop hyponatremia (water intoxication) – a dangerous condition that mimics heat illness.
Prevent this by snacking on salty foods or drinking sports drinks regularly to replenish salt as you hydrate. Rangers recommend consuming both water and salty snacks; for example, eat a handful of pretzels or electrolyte chews each time you drink. Never force fluids beyond your comfort – drink enough to stay hydrated, but also listen to your body.
Finally, plan your hiking schedule around water and heat. In the Grand Canyon’s inner valleys, summer temperatures often exceed 100°F (38°C) in the shade (and much hotter in direct sun). You should not hike during the hottest part of the day (approximately 10 a.m. to 4 p.m.) if you can avoid it. Instead, do most of your walking in early morning and late afternoon/evening when it’s cooler.
Take a long break near shade and water during midday – for example, start predawn, rest at a shady creekside spot through lunch, and hike out in the later afternoon. Most heat-related rescue incidents happen to people hiking in the heat of the day. By timing your hike wisely and drinking/eating often, you greatly reduce the risk of heat exhaustion.
Permits for Overnight Hikes
If you are planning any overnight hike or backpacking trip in the Grand Canyon (camping below the rim), you must obtain a backcountry permit in advance. This permit is required for each night you will camp in the canyon (including at the designated campgrounds like Bright Angel, Indian Garden/Havasupai Gardens, or Cottonwood).
No permit is needed for day hikes – you can hike down and back in one day without any paperwork (although the park strongly discourages trying to go rim-to-river in a single day). You also do not need a permit if you have reservations to stay overnight in the Phantom Ranch lodge or cabins , since that is not considered “backcountry camping.”
Plan your permit well ahead of time. Grand Canyon backcountry permits are in high demand and are issued through an advance reservation system. You can apply for a permit up to four months in advance of your trip start date (for example, May permits are requested in January).
The park uses a lottery/queue system to allocate permits when they open each month. Popular corridors and campsites fill up immediately for peak season dates, so submit your request on the earliest possible date. If you cannot get a permit in advance, there is a possibility of obtaining a last-minute walk-up permit at the park’s Backcountry Information Center.
Walk-in permits are extremely limited – the park holds aside a small number of next-day spots for walk-ins at certain campgrounds. Be prepared to be flexible: you may have to wait 1–3 days or more on a waitlist to snag a cancellation or open spot during busy periods.
If you pursue a walk-in permit, arrive at the Backcountry Office right when they open and have multiple itinerary options. Rangers will call names from a waitlist each morning as space allows. Bottom line: if an overnight trip is in your plans, start the permit process early and always have a backup plan (or consider going with a guided trip, which handles permits for you).
Note: No permit is required to hike the popular “Corridor” trails for a day hike. However, any camping below the rim or hikes outside the main corridor will need that permit. Also, be aware that separate permits exist for other activities like river trips or certain group events, but those are beyond the scope of a typical hike.
Trail Safety Basics
Hiking smart will keep you out of trouble. The Grand Canyon can be unforgiving, but these safety essentials will help ensure you return safely:
- Hike in a group if possible: Do not hike alone, especially as a novice. It’s safer to have companions who can assist in case of injury or illness. Stay together and keep an eye on one another for signs of fatigue or heat stress. If you are solo, be extra cautious and stick to well-traveled trails. Always let a friend or family member know your detailed hiking plan and your expected return time.
- Know your limits and turn around in time: Pride can get people in trouble. Don’t overextend yourself – if you’re feeling exhausted or the daylight is waning, turn around. Plan a conservative turnaround time based on the rule that the hike out takes about twice as long as the hike down. Most first-timers average only about 1 mile (1.6 km) per hour when climbing up. Pay attention to how long you’ve been hiking down, and head back up before you’re too tired. It is much better to cut a hike short than to push past your ability and risk collapse on the way out. Remember, coming back up is the hard part.
- Pace yourself and rest frequently: The National Park Service advises taking a 10-minute break at least every hour of hiking. Find some shade, sit down, elevate your legs, eat and drink during these rests, and enjoy the view. Regular breaks help clear lactic acid from your muscles and prevent exhaustion. While hiking, go at an easy, conversational pace – if you are breathing so hard you can’t speak in full sentences, slow down. A steady pace will get you further than spurts of speed followed by exhaustion.
- Avoid the midday heat: As mentioned, plan to hike during cooler hours and not between 10 a.m. and 4 p.m. in the summer. If you must be on the trail at midday, take extra precautions: move slowly, seek any available shade to cool down, and monitor each other for signs of heat illness. Know the symptoms of heat exhaustion – fatigue, headache, dizziness, nausea, cramps, pale/clammy skin – and stop immediately if you or a companion experience them. Treat it by resting in shade, cooling down (wet your clothes and skin), and rehydrating with water and salty snacks. If someone shows signs of heat stroke (confusion, disorientation, lack of sweat, red dry skin, or unconsciousness), this is a life-threatening emergency – you must cool them rapidly (douse with water, fan them) and get help immediately.
- Stay on established trails: It is extremely dangerous (and forbidden) to venture off-trail or shortcut the route. The canyon’s terrain is treacherous and many accidents happen when people leave the maintained paths. Always stay on the official trail and do not cut switchbacks – not only does cutting switchbacks damage the environment, it also greatly increases your risk of a fall or injury. The trails are designed for safer footing; stick to them.
- Practice good trail courtesy and awareness: Be mindful of others and of wildlife. Uphill hikers have the right-of-way – if you’re descending and encounter people coming up, step aside and let them pass (you’ll appreciate the same courtesy when you’re climbing up). If you encounter mule trains (pack animals) on the trail, follow the wrangler’s instructions: move to the uphill side of the trail, stand quietly, and wait until all mules have passed safely. Never approach or feed wildlife, and watch where you put your hands and feet – rattlesnakes and scorpions exist in the canyon, though incidents are rare.
- Be self-reliant: Once you hike below the rim, you are your own first responder. Cell phones often won’t work, and reaching a ranger could take hours. Carry that first aid kit and know how to use it. Minor issues like blisters, heat cramps, or slight nausea can often be managed if you catch them early – don’t ignore warning signs. If an emergency occurs and you cannot move, know where the nearest help point is (ranger stations are at Havasupai Gardens and Phantom Ranch, and emergency phones are installed at intervals on Corridor trails ). If you have a serious emergency, and you’re able, send two people from your party to get help while the injured person stays put. However, with good planning and sensible decisions, you should be able to avoid emergencies in the first place.
Popular Day Hike Trails (Brief Overview)
For beginners and day hikers, Grand Canyon National Park’s Corridor trails are the best and safest introduction to the canyon.
Park rangers strongly recommend that your first hike be on one of these well-maintained trails, which have water stations and emergency phones along the way. Here is a quick overview of the most popular options:
Bright Angel Trail (South Rim)
The Bright Angel Trail is the most popular trail descending from the South Rim. It begins near Grand Canyon Village. This trail is well graded with many switchbacks, and it offers some shade in the upper sections.
There are water spigots (seasonal) and resthouses at 1.5 and 3 miles down, and year-round water at Havasupai Gardens (~4.5 miles down). Bright Angel is about 9.5 miles (15.3 km) one-way to the Colorado River.
Many day hikers will turn around at Havasupai Gardens (formerly Indian Garden, 9 miles round-trip) or at one of the resthouses for a shorter hike. The climb out is long but you can gauge your progress by these landmarks.
If you want a challenging full-day hike, you can descend Bright Angel to the river and back, but the park does NOT recommend hiking rim-to-river-to-rim in a single day for most people.
South Kaibab Trail (South Rim)
The South Kaibab Trail is another spectacular route from the South Rim, starting at Yaki Point (accessible by shuttle bus). Unlike Bright Angel, South Kaibab follows an exposed ridgeline – it has stunning panoramic views but no water and almost no shade.
The trail is steeper in parts, and it’s shorter: about 7 miles (11.3 km) one-way to the river. Popular day-hike destinations on South Kaibab include Cedar Ridge (3 miles round-trip) and Skeleton Point (6 miles round-trip). Because there is no water on the trail, you must carry all you need.
Many hikers choose to go down South Kaibab and up Bright Angel as a loop, to enjoy the views on South Kaibab and have water/amenities on the Bright Angel for the climb out. Keep in mind the South Kaibab trailhead itself has a water tap (seasonal) and toilets at the rim, but after you start descending, there are no facilities until the bottom.
North Kaibab Trail (North Rim)
The North Kaibab Trail is the only maintained trail from the North Rim down into the canyon. It starts at about 8,000 feet (2,438 m) elevation at the North Rim, which means cooler temperatures but thinner air.
The full North Kaibab Trail goes 14 miles (22.5 km) one-way to the river, passing through dramatically different ecosystems as you drop in altitude. For a day hike, good turnaround points are the Coconino Overlook (1.5 miles round-trip) or Supai Tunnel (4 miles round-trip) – beyond Supai Tunnel you start a steep descent into the inner canyon.
The North Kaibab has water available at the trailhead and usually at Supai Tunnel and at a point near the Manzanita Rest area (seasonal, check current status).
This trail is far less traveled than the South Rim trails, and you may experience more solitude. However, it’s a long drive to the North Rim and it’s only open seasonally (the North Rim is closed in winter), so plan accordingly.
Aside from these inner-canyon trails, both rims also have Rim Trail hikes (mostly flat paths along the canyon’s edge) that offer excellent views without extreme exertion. If you aren’t up for a big climb, you can walk sections of the Rim Trail and still enjoy the Grand Canyon’s splendor.
Final Advice: Hiking the Grand Canyon is an incredible experience when done safely. Prepare thoroughly, respect the climate and your own limits, and hike smart.
As the park service says, “The difference between a great hike or a trip to the hospital is up to you”. With the right fitness, gear, hydration, permits, and safety mindset, you’ll be ready to explore the Grand Canyon’s trails confidently, and make it back to tell the tale.